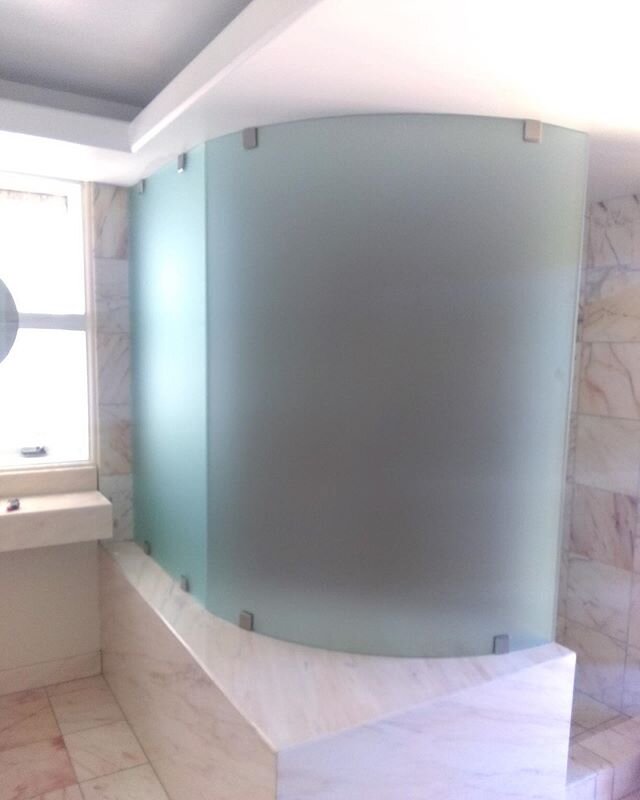
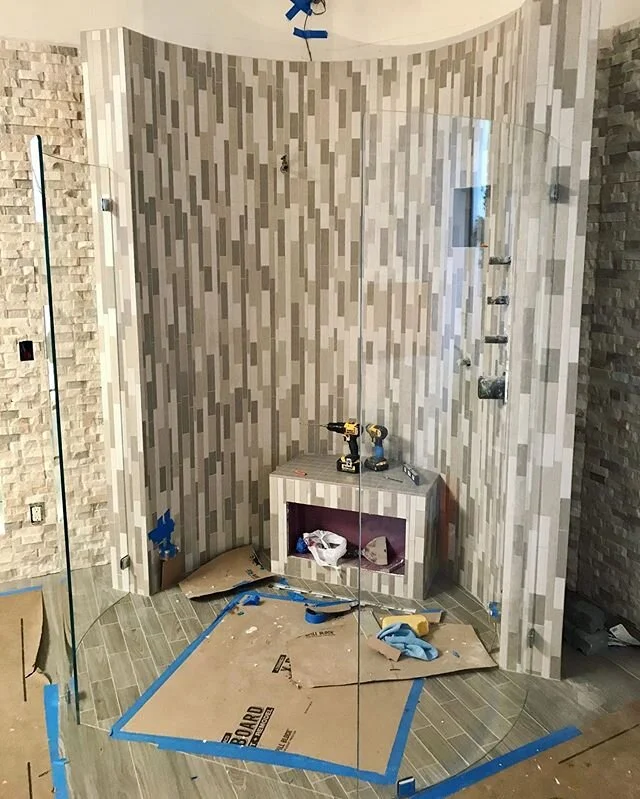
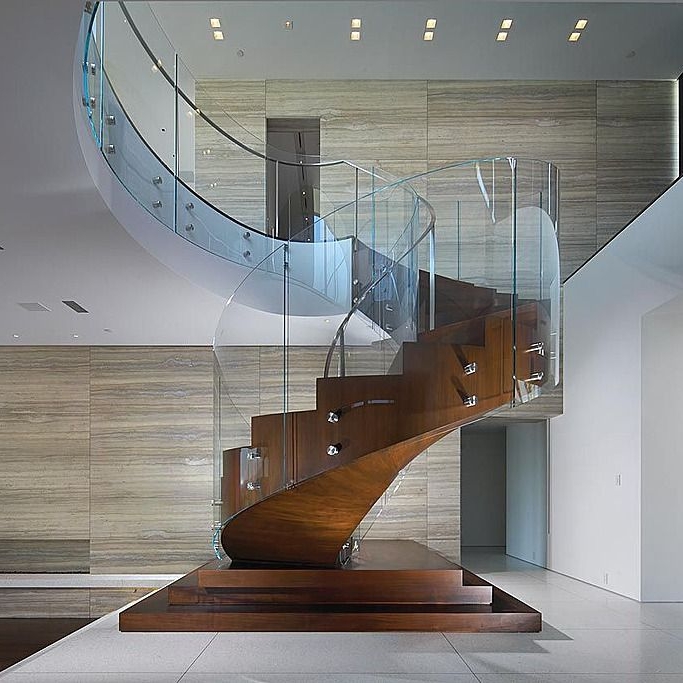
Bent Tempered Glass
Bent glass is a specialty product that has many architectural applications including stair & balcony railings, shower enclosures, fire pits, entrance systems, skylights, building facades and much more. We view bent glass as a way to add a modern, sleek, and elevated aesthetic to your existing design. To bring your vision to life, our luxurious bent glass seamlessly fits into your space, while retaining the beautiful views. We would be thrilled to help you incorporate bent glass on your next project.


Click on above pictures to enlarge.
Characteristics
Approximately five times stronger than annealed glass of equal thickness
Greater resistance to thermally-induced stress than heat-strengthened or annealed glass
Suitable for use as a safety glass
Tempered safety glass is also mandated in other parts of the world by individual country regulations or specifications

Applications
Suitable where safety glazing is required
Fire knock-out panels
All glass entrances and storefronts
Extreme wind loads
Fireplace enclosures

Guidelines
Maximum Size 96” X 96”
Minimum Size 16” X 8”
Email bent@cgifab.com for more capabilities information!
How to Measure Bent Glass
Here are 4 Easy Steps, ensuring that we have all the correct measurements for your project:
STEP 1 – THE CHORD
A chord is a straight line between two points on a curve or circle. As it applies to a piece of curved glass, the chord we are wanting to measure is the distance between the two end points of the curve. Please measure the chord for the outer surface. We are not interested in the inside surface, as our bending machine is always bending glass to the outside surface.
STEP 2 – MID POINT
Take the value measured in step 1; Divide this number by two, and you will have the mid-point of the curve.
From the measurements acquired in steps 1 and 2, we are now able to make additional measurements and calculations. Since we are relying on the accuracy of the chord and mid-point measurement for the next steps, it should be apparent how crucial these initial values are, to the over-all process. Feel free to re-measure often, to ensure 100% accuracy.
STEP 3 – DEPTH
The depth of the curved surface represents the maximum distance that the curved surface reaches from the chord. In other words, it is the “depth” of the bent glass we will be producing for your project. Place a solid piece of wood or metal firmly against the two end-points, the same end-points from which you measured the chord. Measure a-long this beam and mark the mid-point (as determined in step 2). Place a right-angle ruler at the mid-point of the chord and measure the distance from the mid-point to the outer surface of the curve.
The reason for using a right-angle ruler against a solid surface is for maximum accuracy. Simply eye-balling the right-angle with a straight ruler, or taking the measurement from a flexible surface at the chord, risks inaccuracies that could cause your custom glass to fit incorrectly.
STEP 4 – HEIGHT
The Height is the easiest measurement of all. Using a metal measuring tape, measure the distance from the very top, to the very bottom of the application for which the curved glass piece is intended.